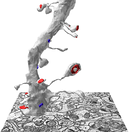
 Kristen Harris Lab
Lab W9: Inhibitory Shaft Synapses
Overview
In this lab you trace five synapses on the shaft of dendrite d03 and decide whether each one is symmetric (presumably inhibitory) or asymmetric (presumably excitatory). You will:
- Trace each shaft synapse with a cfa-trace and a c-trace, as you traced spine synapses in Week 2.
- Follow each synapse's presynaptic axon to its next synapse and stamp it.
- Record the PSD area of each shaft synapse.
- Compare the inhibitory shaft synapses with the excitatory spine synapses of d03 in Figure 4.
Work in your D03 series. For any tool or menu, see the PyReconstruct Guide.
Your five shaft synapses
Each shaft synapse is marked by a red p-stamp. Fill in this table as you work.
| p-stamp | cfa-trace (green) | c-trace (dark blue) | PSD area (µm²) | Symmetric or asymmetric | Neighboring synapse stamp |
|---|---|---|---|---|---|
| d03p09_shaft | d03cfa09 | d03c09 | d03ax09_nnsyn01 | ||
| d03p20_shaft | d03cfa20 | d03c20 | d03ax20_nnsyn01 | ||
| d03p26_shaft | d03cfa26 | d03c26 | d03ax26_nnsyn01 | ||
| d03p35_shaft | d03cfa35 | d03c35 | d03ax35_nnsyn01 | ||
| d03p38_shaft | d03cfa38 | d03c38 | d03ax38_nnsyn01 |
The c-traces are dark blue here, not red as in Week 2, so the shaft synapses stand out from the spine synapses in 3D.
Find the p-stamps
- Open the Object List: Lists > Object list (Ctrl+Shift+O; Mac: Cmd+Shift+O).
- In the Object List, choose Filter > Group filter....
- Pick Inhibition and click OK. The list shows only your five p-stamps.
- Double-click
d03p09_shaft. PyReconstruct goes to the first section the stamp is on.
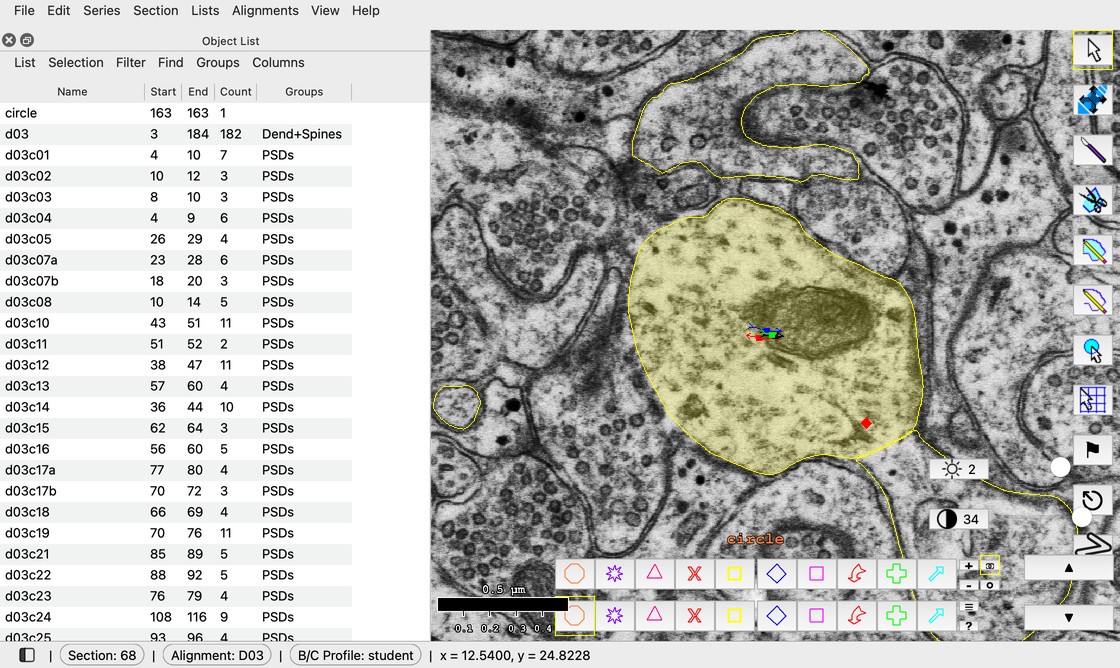
Filter > Group filter... > Inhibition > OK.
Trace each shaft synapse
Trace each synapse the way you traced spine synapses in Week 2.
- Right-click a palette square to open Set Attributes. Name it
d03cfa09and make it green. - Click the Open Trace tool (O) and draw a line along the PSD.
-
Right-click another palette square. Name it
d03c09and make it dark blue.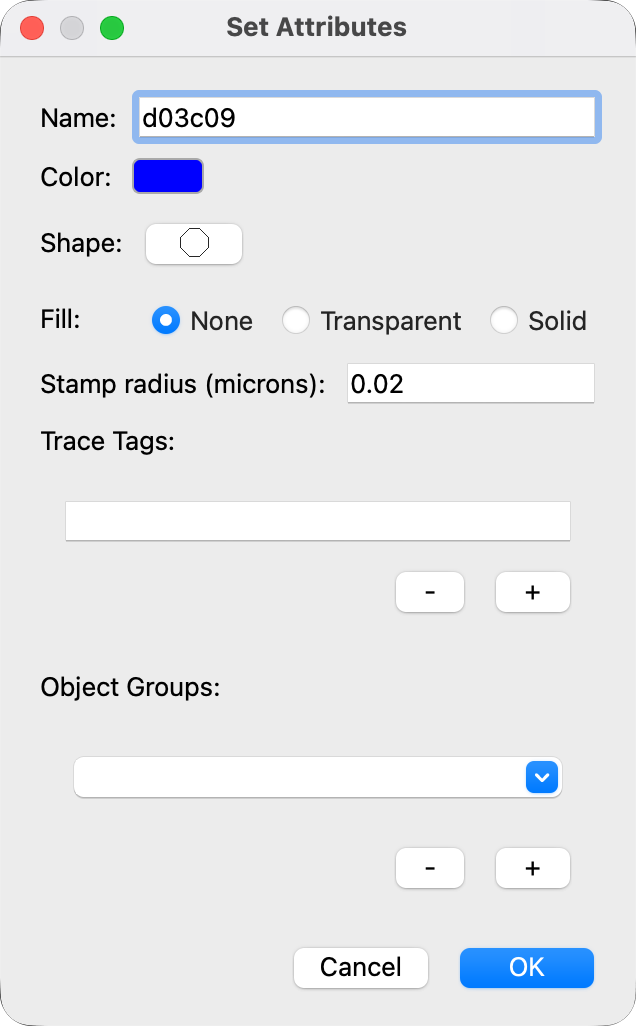
Set Attributes for the c-trace d03c09. -
Click the Closed Trace tool (C) and draw a closed trace around the PSD, reaching slightly into the axon.
- Go to the next section (Page Up) and repeat steps 2 and 4 on every section where you can see the PSD.
- Do the same for the other four synapses, with their own numbers.
The p-stamp shows you where the synapse is. Trace the PSD on every section where you can see it; that is usually the sections with the p-stamp.
Seeing thin PSDs
Symmetric PSDs are thin. Press ] to raise the contrast and - to lower the brightness a little; the PSD is easier to see. Press [ and = to go back.
Decide: symmetric or asymmetric
Use all four criteria together.
| Inhibitory / symmetric | Excitatory / asymmetric | |
|---|---|---|
| Location | Usually on the dendritic shaft | Usually on a spine head, but can be on the shaft |
| PSD | Thin (thinner than nearby spine synapses) | Thick (thicker than nearby shaft synapses) |
| Vesicles | Pleomorphic (flattened, oblong, round), usually smaller | Mostly round, larger |
| Axon | Also synapses on other shafts (inhibitory synapses) | Also synapses on spines (excitatory synapses) |
Figure: an asymmetric (Gray I) synapse with round vesicles and a symmetric (Gray II) synapse with pleomorphic vesicles
SynapseWeb, Atlas of Ultrastructural Neurocytology, Fig. 1.6.12. Open the atlas page.
Follow the axon
Following the presynaptic axon is the strongest test, because an axon is either excitatory or inhibitory.
- Find the axon that makes your shaft synapse.
- Follow it through the sections (Page Up and Page Down) until it makes another synapse.
- Click the Stamp tool (S). Right-click a palette square, name it
d03ax09_nnsyn01(for the synapse at d03p09_shaft), set Stamp radius (microns) to 0.05, and click OK. - Click on the neighboring synapse to place the stamp.
- Note whether that synapse is on a shaft or on a spine, and whether it looks symmetric or asymmetric.
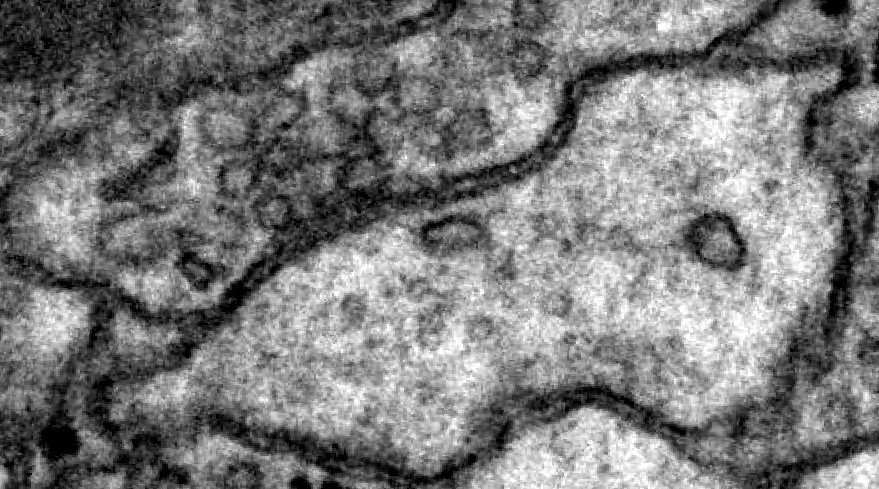
Hint
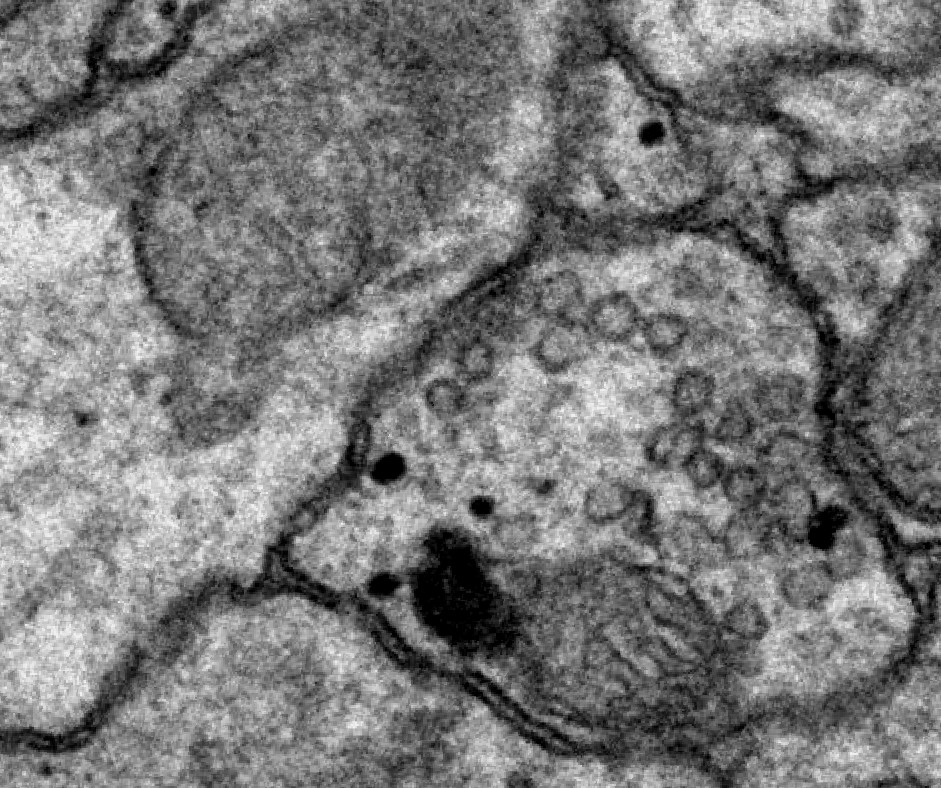
Most shaft synapses are inhibitory. If you think one of yours is excitatory, show it to your TA.
More notes
- PSDs and vesicles. PSD thickness varies, even within each class. An asymmetric PSD can look thin if it is forming or breaking down. A symmetric PSD can look thick if it is cut obliquely or en face. Round and pleomorphic vesicles can be hard to tell apart. Weigh all the criteria together.
- Axons. If you are unsure about a synapse, follow its axon. If the axon makes clearly asymmetric synapses elsewhere, the synapse in question is asymmetric too.
- Where each kind is common. Symmetric synapses are common on the dendritic shaft, at the base of a spine, on a spine neck, or on a multisynaptic spine head. Asymmetric synapses are common on single-synapse spine heads, branched spines and multisynaptic spine heads, and are also found on dendritic shafts.
- Caveat lector. These guidelines hold for the brain region in this series. They may not hold in other brain regions.
Record the PSD areas
- Open the Object List (Lists > Object list).
- Choose Filter > Regex filter..., replace
.*withd03cfa.*, and click OK. - Read the Flat area of your five shaft synapses (
d03cfa09,d03cfa20,d03cfa26,d03cfa35,d03cfa38) into the table above.
For Figure 4
In your Figure 4 legend, report:
- the mean inhibitory shaft synapse area (mean ± S.E.M.), and
- the mean excitatory spine synapse area of d03 (mean ± S.E.M.).
For the spine synapses, use the Flat area of every d03cfa row in the filtered list except your five shaft synapses. That includes the spine synapses you traced in Week 2.
Save and upload
- Save with Ctrl+S (Mac: Cmd+S).
- Upload your .jser file on Canvas before you leave (attendance).
- Submit Figure 4 on Canvas (Assignments).