 KH Lab
Lab 3.2: Polyribosomes
Overview
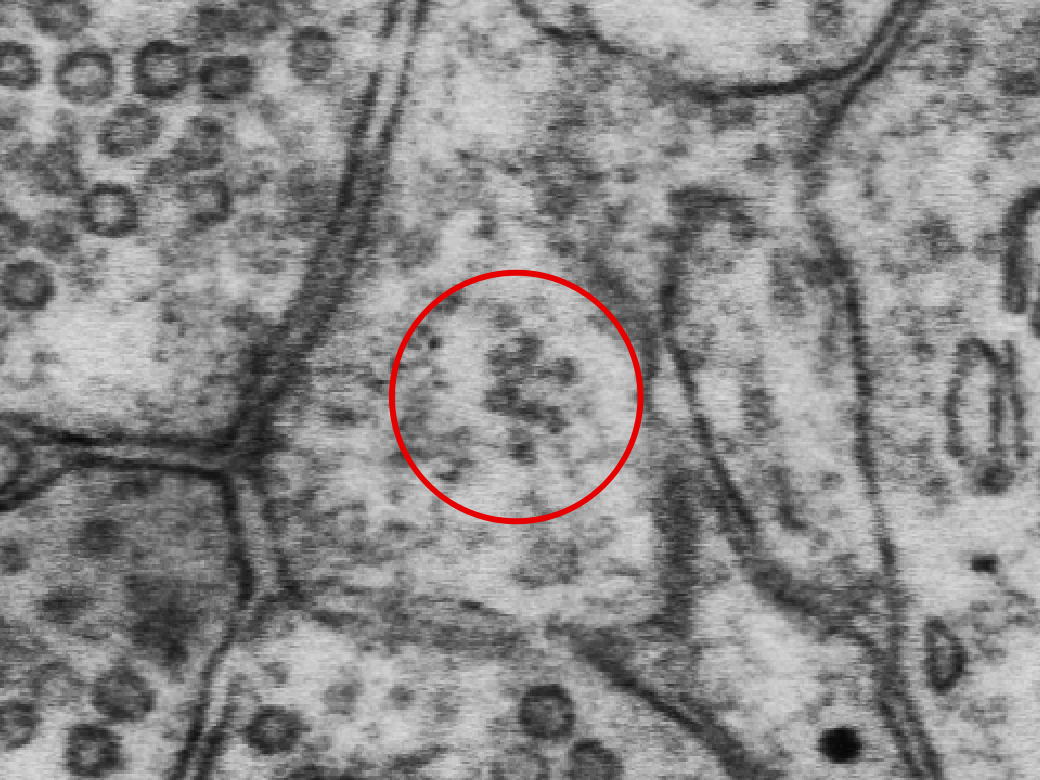
Polyribosomes (PR) are clusters of 3 or more ribosomes close together. On an EM image they are dark round dots, each about 10 to 30 nm wide. Because they are so small, a single ribosome cannot be seen on more than one section, although a particularly large cluster may spread across 2 or 3 sections.
- Spines: the same 5 spines as in Lab 3.1.
- What you make: one stamp for each polyribosome cluster, shown as spheres in 3D.
- What you hand in: your saved series, uploaded to Canvas.
Identifying polyribosomes in dendritic spines
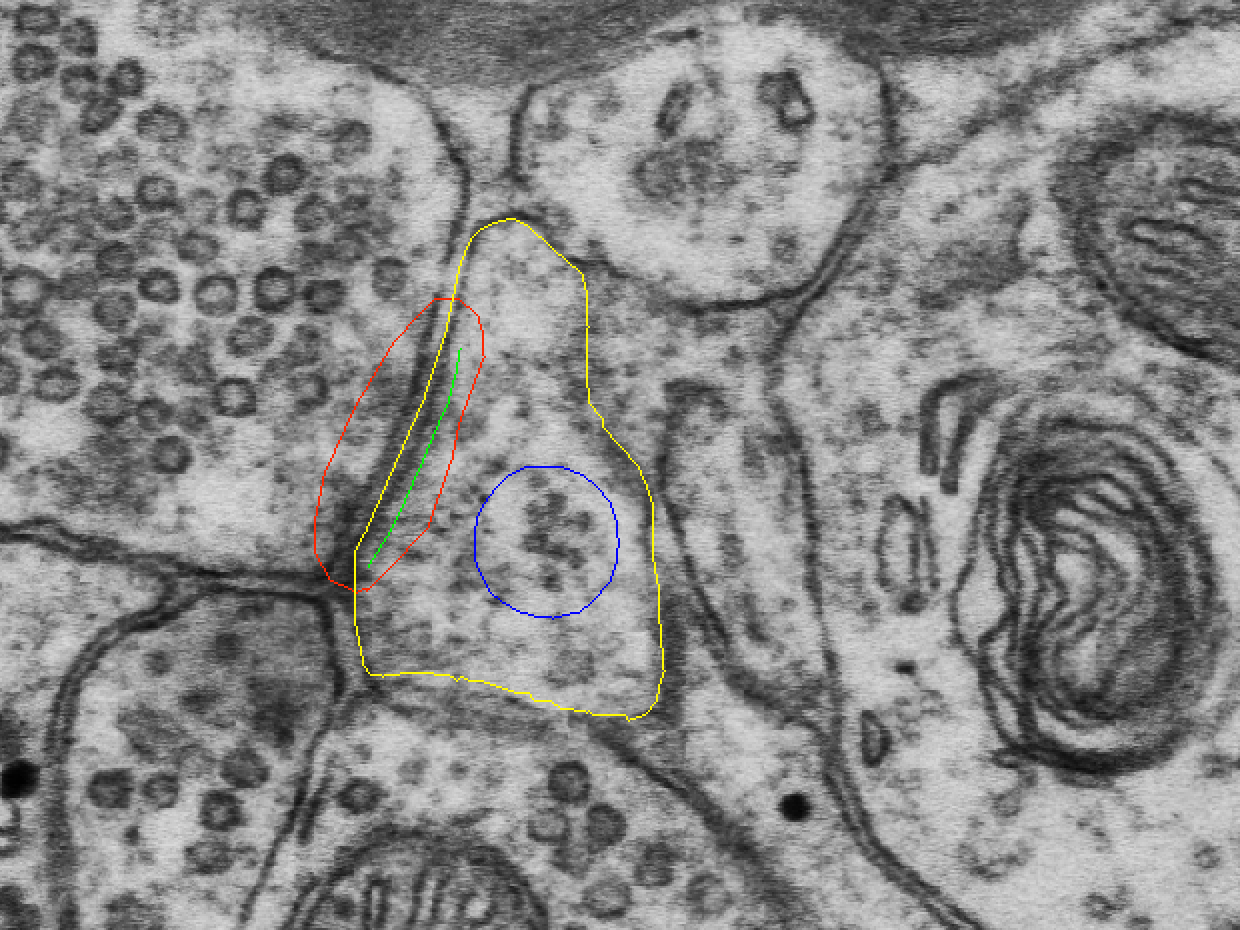
Here is an example polyribosome cluster from the class series ZGBJY: d03rh31, in the head of spine d03sp31 (p-stamp d03p31), on section 124.
5 additional spines
To learn to identify polyribosomes, search the same 5 spines where you looked for SER and SA:
- d03sp12 (p-stamp d03p12)
- d03sp14 (p-stamp d03p14)
- d03sp37_branched (p-stamp d03p37_branched)
- d03sp40 (p-stamp d03p40)
- d03sp42 (p-stamp d03p42)
Stamp polyribosomes in the 5 spines
Name each stamp d03r## (r for ribosomes, ## for the spine number). Ribosomes in d03sp12 are d03r12.
The example stamps already in the series add a letter that says where the cluster sits (h for head, b for base, n for neck), as in d03rh31 and d03rb31. Your stamps do not need it.
- In the Tools window, select the Stamp tool.
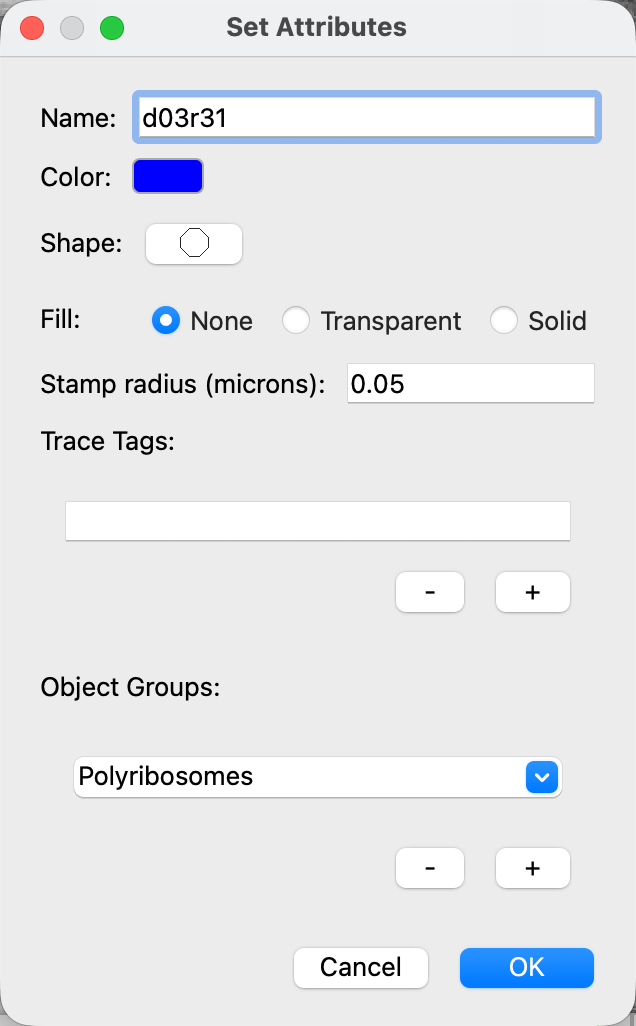
- Right-click an unused palette square. The Set Attributes dialog opens.
- In Name, type the name for your spine, such as
d03r12. - Click Shape and choose the circle.
- In Stamp radius (microns), type
0.05. - Click OK.
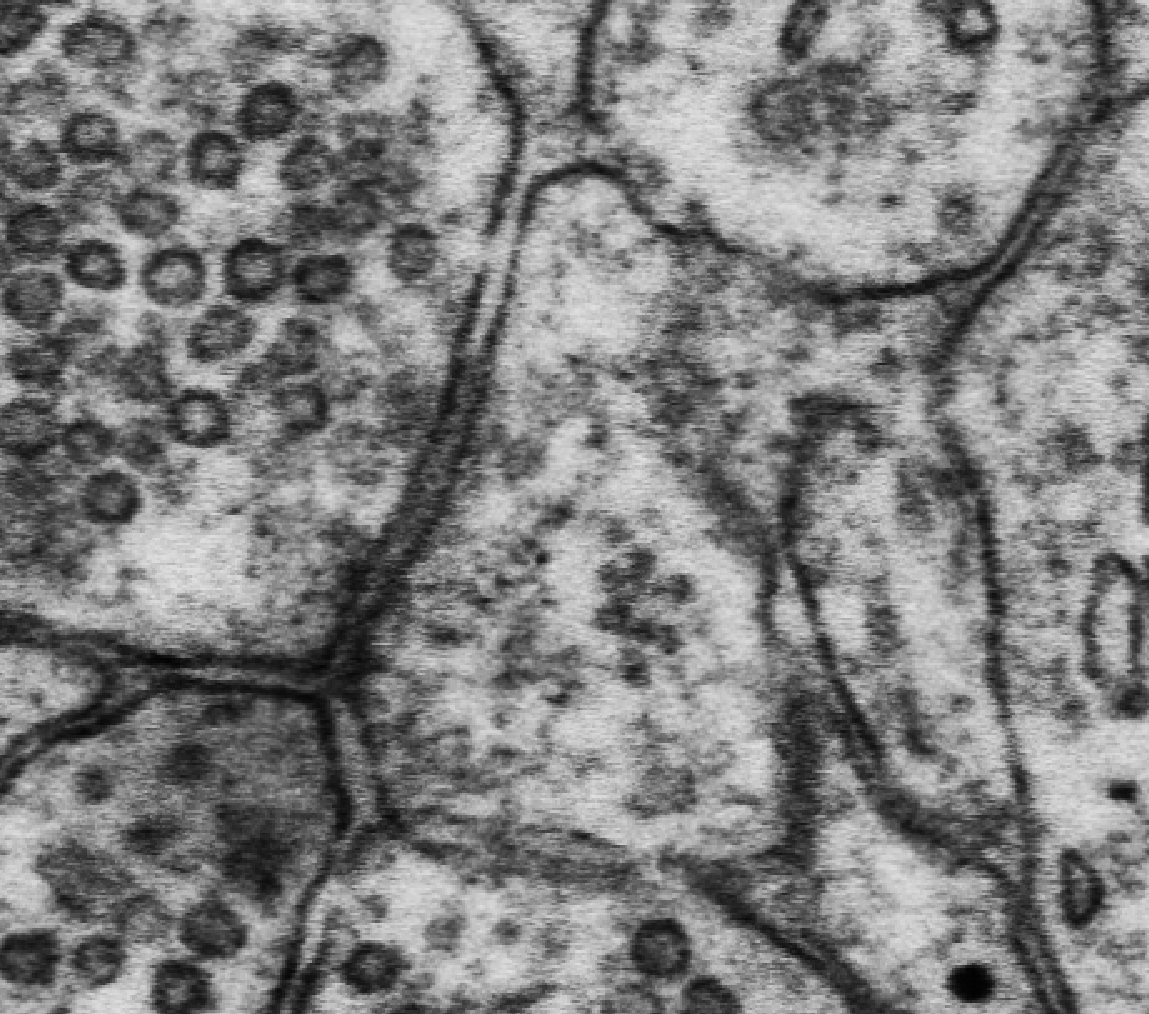
Stamp each polyribosome cluster on just one section where the cluster is present. If your spine has more than one cluster, stamp each cluster once, all with the same palette square and name. Each stamp becomes one sphere in 3D (see below).
Adding polyribosomes to the 3D scene
Show each ribosome stamp as a sphere:
- In the Object List, right-click your ribosome object, such as d03r12.
- Choose 3D > Edit 3D settings.... The 3D Object Settings dialog opens.
- Set 3D Type to spheres.
- Click OK.
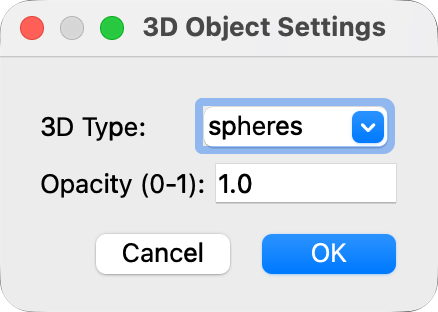
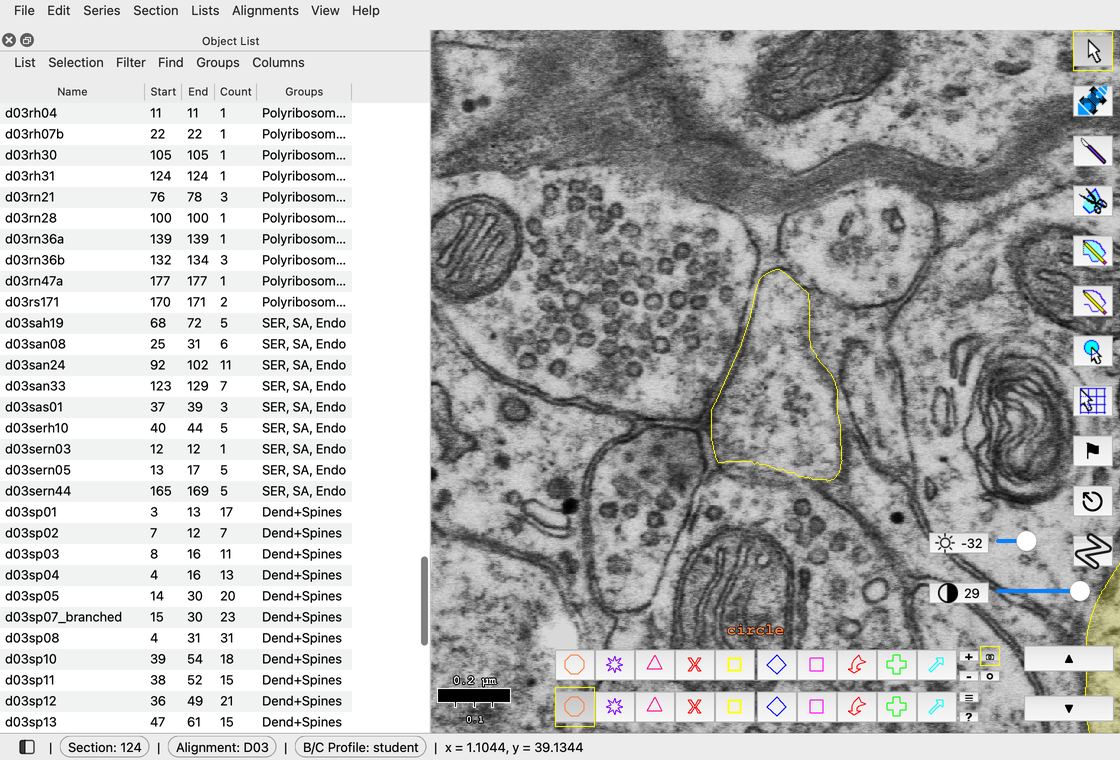
Right-click > 3D > Edit 3D settings... > 3D Type: spheres > OK.
Then add the ribosomes and their spine to the 3D scene:
- In the Object List, right-click the ribosome object and choose 3D > Add to scene (Ctrl+Shift+D; Mac: Cmd+Shift+D).
- Do the same for its spine, such as d03sp12.
Already in the scene?
If you added the ribosomes to the 3D scene before you set 3D Type to spheres, select them in the 3D window and choose Scene > Reload selected (Ctrl+Shift+R; Mac: Cmd+Shift+R).
The spheres must show through the spine. In the class series every spine (d03sp##) starts at opacity 0.4. If the spine still hides the spheres, lower its opacity:
- Right-click the spine in the Object List and choose 3D > Edit 3D settings....
- Set Opacity (0-1) to 0.3 or 0.4.
- Click OK. The opacity changes right away.
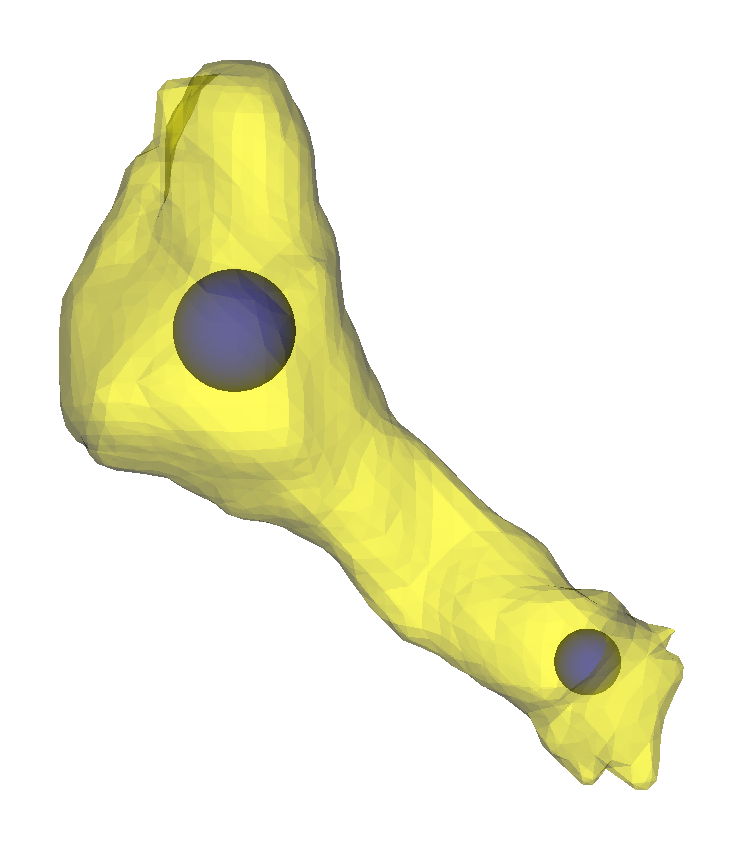
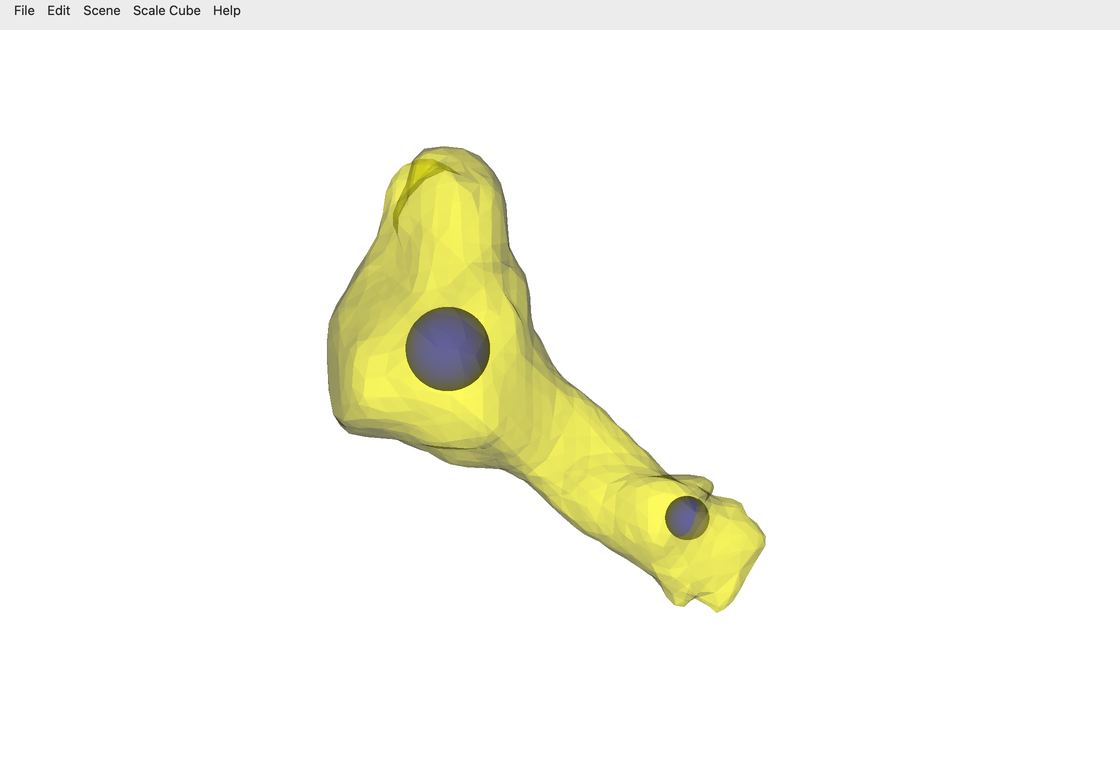
Drag in the 3D window to turn the scene.
Saving
Save with Ctrl+S (Mac: Cmd+S), back up your .jser file, and upload it to Canvas, as in Lab 1.1.