 KH Lab
Top 10 Things to Learn in PyReconstruct
Overview
These are the ten things to practice first in PyReconstruct. Each one links to more detail in the PyReconstruct Guide. If you have not installed PyReconstruct or opened your series yet, start with Getting started.
Before you start, set your username: go to File > Change username..., type your UT EID, and click OK. You only need to do this once.
1. Open a series
- Press Ctrl+O (Mac: Cmd+O), or go to File > Open series....
- Select your .jser file and open it.
2. Pan and zoom
- In the Tools window, click Pan/Zoom.
- Hold down the left button and move the mouse to move the image.
- Hold down the right button and move the mouse toward or away from you to zoom in and out.

3. Go between sections
Each image is called a section, and all the sections together form a series. Use the mouse scroll wheel, or Page Up and Page Down, to go up or down through the sections. The status bar at the bottom left shows which section you are on.
4. Rename a trace palette square
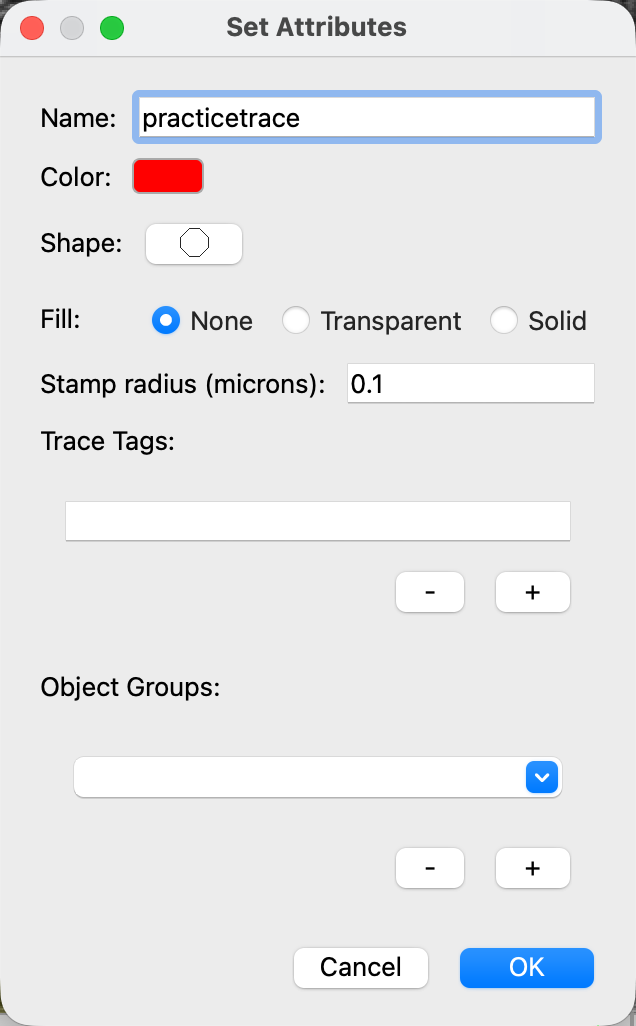
- Right-click a square in the trace palette. The Set Attributes dialog opens.
- In Name, type
practicetrace. - Click OK.
Use practicetrace to practice your tracing.
5. Draw traces
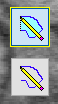
- Open or closed: the Open Trace tool draws lines; the Closed Trace tool draws closed loops.
- Drag or point by point: hold down the left button and move the mouse to draw, or click once and keep clicking to draw point by point. Right-click to finish a point-by-point trace.
6. Merge 2 traces
If 2 closed traces have the same name, overlap, and are both selected, press Shift+M to merge them into one trace.
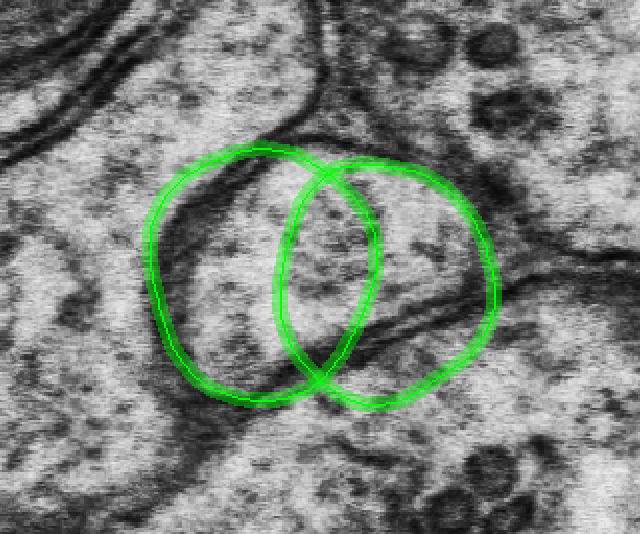
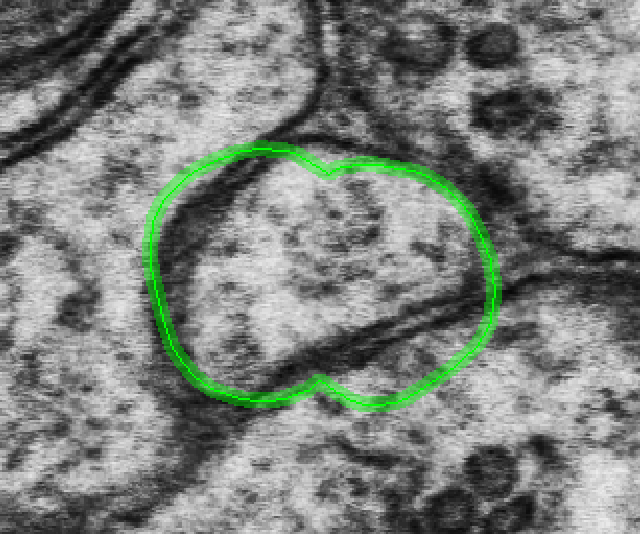
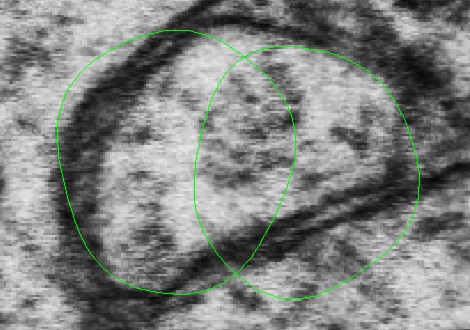
Click one trace, click the other, then press Shift+M.
7. Trace something
- Click your
practicetracepalette square. - Click the Closed Trace tool.
- Choose a small object and trace its outline.
- Go to the next section (Page Up) and trace the same object again.
- Do this on 3 sections in a row.
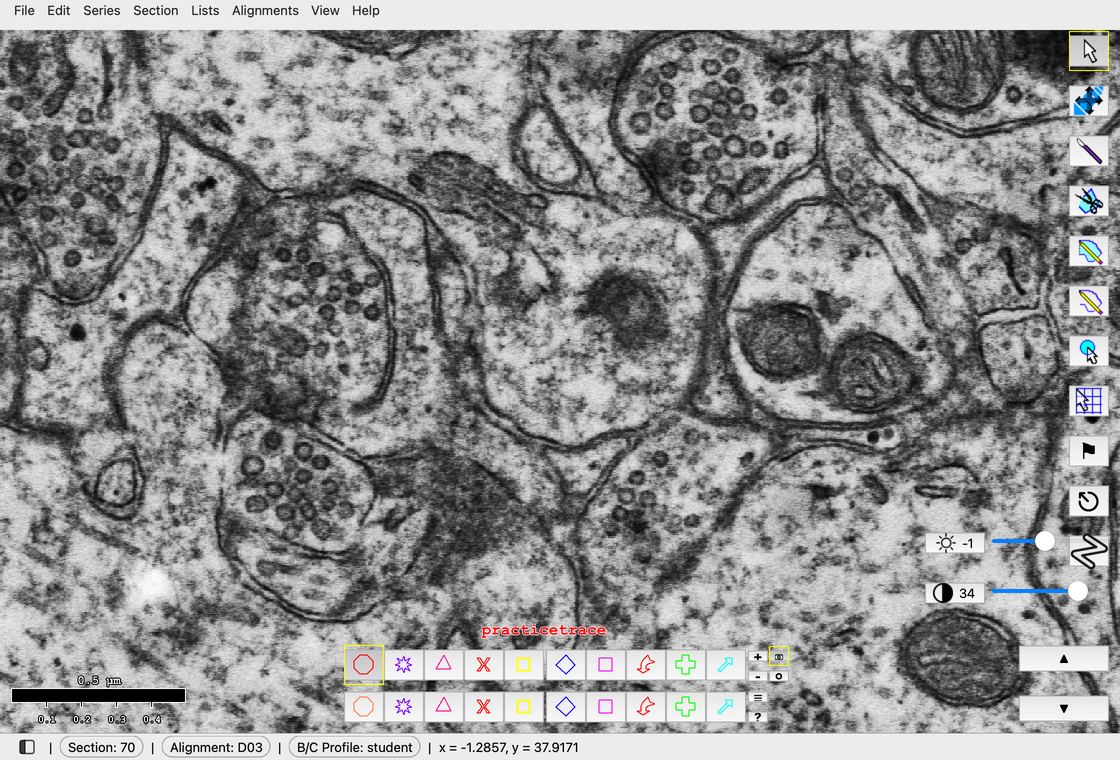
Hold the left button, drag around the object, and let go.
8. Open the Object List
Go to Lists > Object list (Ctrl+Shift+O; Mac: Cmd+Shift+O).
9. View your object in 3D
In the Object List, right-click practicetrace and choose 3D > Add to scene.

Right-click > 3D > Add to scene, then drag in the 3D window to turn the view.
10. Save
Press Ctrl+S (Mac: Cmd+S). Save often while you work.