 Kristen Harris Lab
Lab W10: Proofreading Autosegmented Dendrites and Spines
Overview
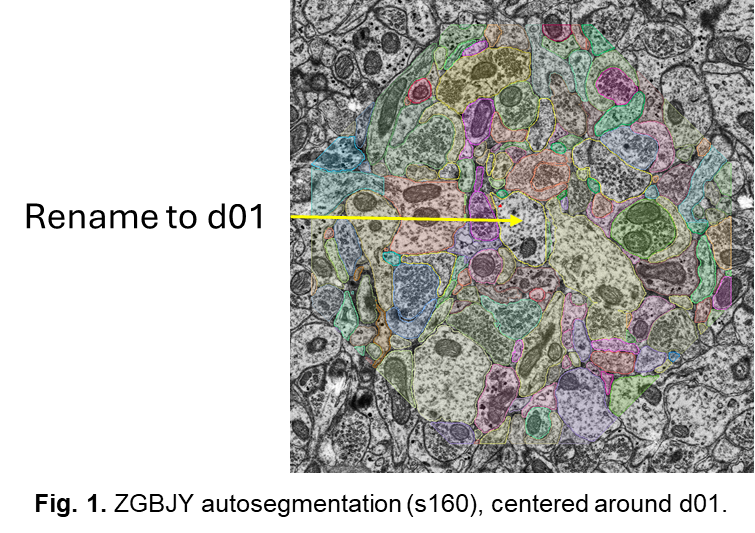
You now know how to read 3DEM images across serial sections. In the next labs you become proofreaders of an autosegmentation of the same series, ZGBJY, around a neighboring dendrite that you will name d01. In this lab you:
- Open the autosegmented series and name the dendrite d01.
- Smooth d01 and look at it in 3D to spot errors.
- Proofread d01 and its 15 spines in focus mode, fixing split and merge errors.
- Save screenshots of two errors for Figure 5.
The errors you find and fix here go in panels A, B and G of Figure 5. See Figure 5 instructions.
For any tool or menu, see the PyReconstruct Guide.
Get the autosegmented series
This lab uses a new series file, ZGBJY-D01-autosegmentation.jser. It is 66 MB, too big for this site.
- Download
ZGBJY-D01-autosegmentation.jserfrom Canvas. - Put it in your class folder, next to the image folder you already use.
- Open it with File > Open series... (Ctrl+O; Mac: Cmd+O).
- If PyReconstruct asks where the images are, choose your image folder.
Keep an untouched copy of the downloaded file. You will need it in Weeks 11 and 12 for screenshots of errors before you fixed them.
About autosegmentation
Autosegmentation is a computer process that finds the boundaries of structures in the images. The lab's method segments dendrites, axons and glia, and finds synapses and presynaptic vesicles. A machine learning model was trained on sparse manual reconstructions (ground truth), then run on new images.
Autosegmentation is fast: minutes for the ZGBJY cylinder. But it still makes errors that a person must proofread and correct. The corrected data can then be fed back to make the model better.
In this series, every object inside a cylinder around a segment of dendrite d01 has been autosegmented. Each autosegmented object has a name such as auto_boundaries_1000, and each has its own color.
Typical autosegmentation errors
- Split error: one object is split into two or more objects. For example, a spine is split off its dendrite and given a different name.
- Merge error: two or more objects are merged into one. For example, a spine head is merged with the axon next to it.
One object can have both kinds of error.
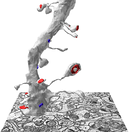
Errors are easiest to see in 3D, if you know what dendrites and axons look like in this brain region. You can double-click a spot on the 3D surface to go straight to it in the images, then fix it there.
1. Name the dendrite d01
- Open the Object List: Lists > Object list (Ctrl+Shift+O; Mac: Cmd+Shift+O).
- Right-click
auto_boundaries_1000and choose Edit attributes of traces.... The Set Attributes dialog opens. - In Name, type
d01. - Click OK. Every trace of the dendrite, on every section, is now named d01.
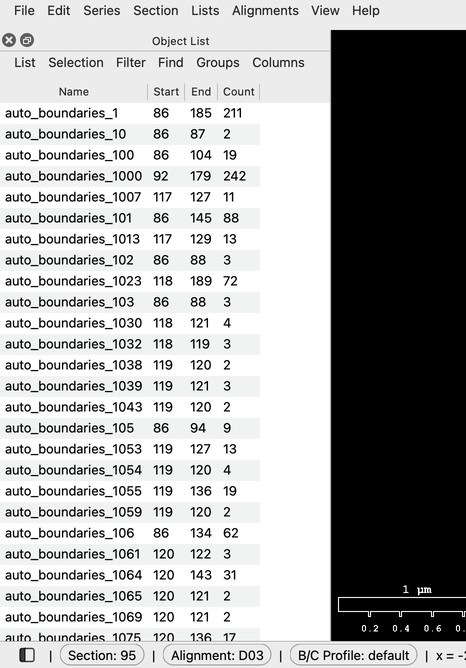
Right-click > Edit attributes of traces..., type d01, OK.
2. Smooth d01
Autosegmented traces are jagged. Smooth them first.
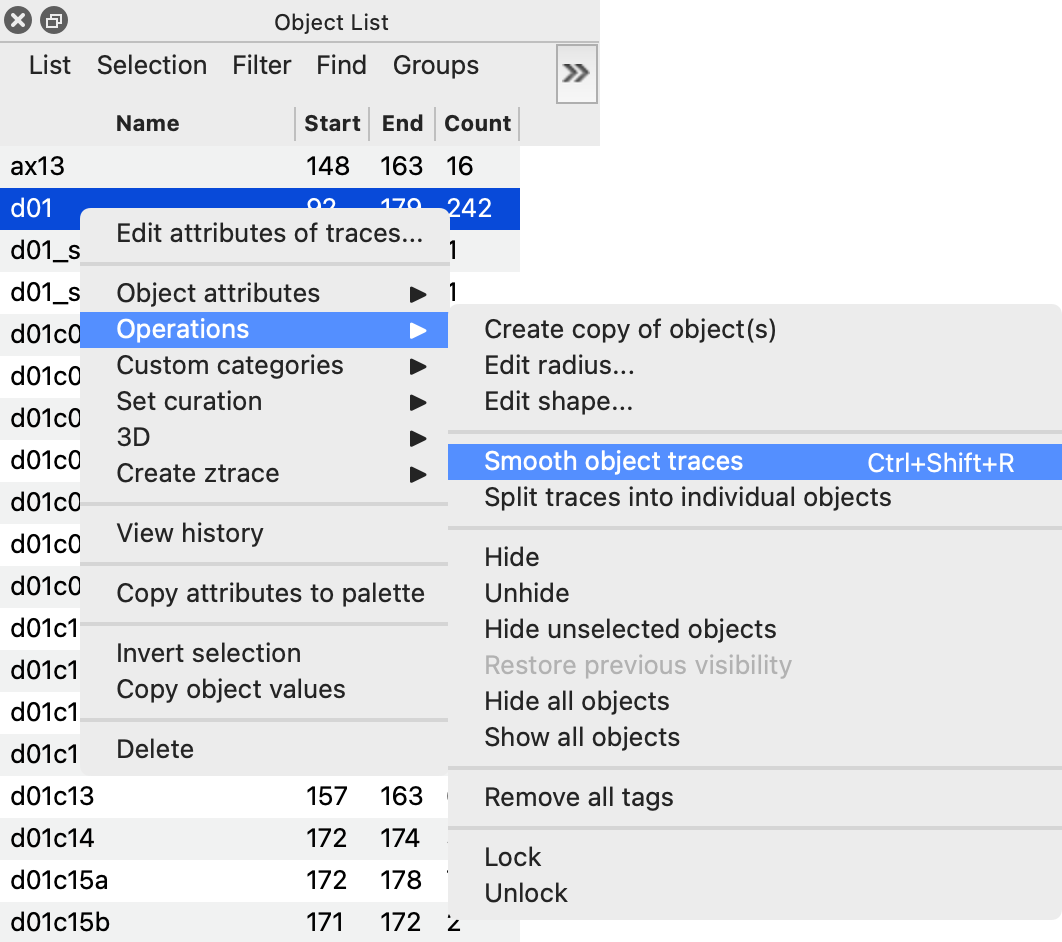
- In the Object List, right-click
d01. - Choose Operations > Smooth object traces.
3. Look at d01 in 3D
- In the Object List, right-click
d01and choose 3D > Add to scene (Ctrl+Shift+D; Mac: Cmd+Shift+D). The 3D window opens. - Drag in the 3D window to turn d01. Look for spots that look wrong: a flat face, two spines joined into one, a spine missing its head.
- Double-click a spot that looks wrong. The main window goes to that section and place.
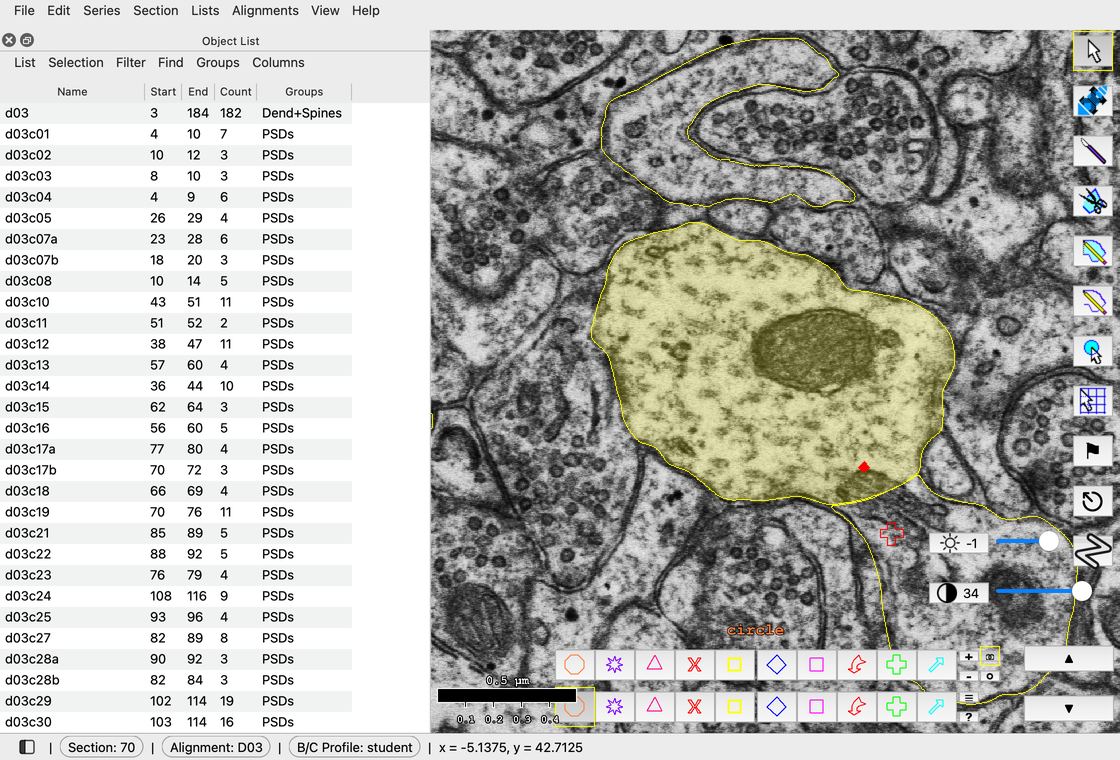
Right-click > 3D > Add to scene, then drag in the 3D window to turn the view. Shown on d03 in the D03 series.
4. Proofread d01 in focus mode
Your segment of d01 runs from the stamp d01_start (section 95) to the stamp d01_stop (section 176). Fix every spine that has a p-stamp:
- d01p01, d01p02_non, d01p03, d01p04, d01p05
- d01p06, d01p07, d01p08, d01p09, d01p10_branched
- d01p11, d01p12, d01p13, d01p14, d01p15_branched
Turn on focus mode
- In the Object List, double-click
d01_start. PyReconstruct goes to section 95. (Or press Ctrl+F (Mac: Cmd+F), typed01_startand click OK.) - Press Ctrl+D (Mac: Cmd+D) to deselect all traces.
- Press P for the Pointer tool and click a d01 trace.
- Press X. Focus mode turns on: d01 is yellow and every other trace is green. The top of the window shows "Focus: d01".
- Go through your segment one section at a time (Page Up), from section 95 to section 176, and fix each error you find.
Press X again to leave focus mode.
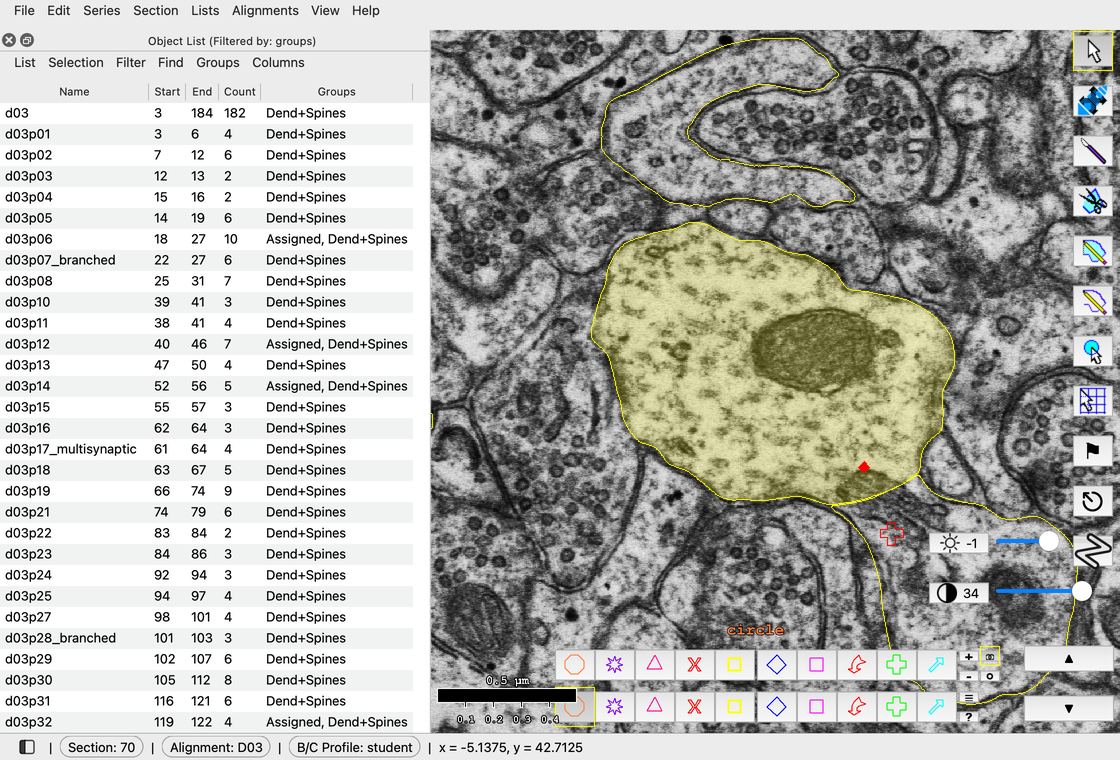
Double-click a stamp in the Object List to go to the first section it is on. Shown with d03p06 in the D03 series; do the same with d01_start.
Fix a split error
A split error shows as a green trace that should be part of the yellow d01, such as a spine head split off its neck.
- Ctrl+click (Mac: Cmd+click) the green trace. It turns yellow: it now has d01's name and color.
- On a section, all d01 traces are already selected in focus mode. Press Shift+M to merge them into one trace.
The traces must touch or overlap to merge; traces with a gap between them stay separate. If a gap stays, fix the border as you did when tracing by hand in Week 1, for example with the Scissors tool (Shift+K), then merge again.
Fix a merge error
A merge error shows as part of the yellow d01 that belongs to something else, such as an axon joined to a spine head.
- Press K for the Knife tool.
- Drag the knife across d01 along the true border. The trace is cut in two.
- Press P for the Pointer tool.
- Ctrl+click (Mac: Cmd+click) the piece that is not d01. It is renamed
d01_splitand turns green.
If you later find what that piece belongs to, rename d01_split to that object's name.
Ctrl+click (Mac: Cmd+click) works both ways
In focus mode, Ctrl+click (Mac: Cmd+click) on a yellow d01 trace makes it d01_split, and Ctrl+click (Mac: Cmd+click) on any green trace (including a d01_split trace) makes it d01. To get back an autosegmentation name, undo with Ctrl+Z (Mac: Cmd+Z).
For Figure 5
- Save screenshots of two errors you find. For an error you already fixed, open your untouched copy of the downloaded series to take the "before" screenshot.
- When you have finished, add d01 to the 3D scene again (step 3) for your final figure.
Mark errors as you go
Stamp a good error with a stamp named error (Stamp tool, S) so you can find it again for Figure 5.
Save and upload
- Save with Ctrl+S (Mac: Cmd+S), and often while you work.
- Upload your .jser file on Canvas before you leave (attendance).